What you will need:
Paper
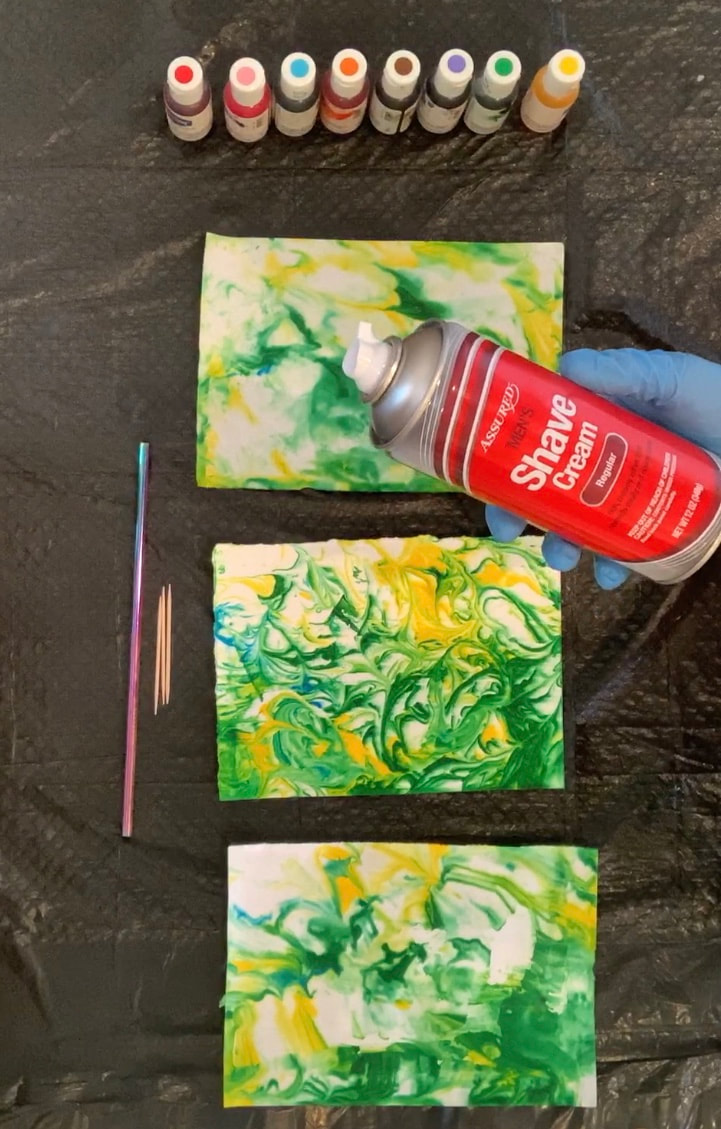
Shaving cream
Food coloring or liquid watercolor
Large rectangle cake pan or tupperware
Tooth picks or other item for swirling color
Scraper or square piece of cardboard
Cover to protect work surface: plastic garbage bag/
plastic tablecloth/newspaper
Optional: gloves
Step 1: Cover your work area with a plastic garbage bag or newspaper.
Step 2: Choose the food colors you want to use.
Step 3: Fill a shallow dish with shaving cream. White foam (not gel) works best. If working with very small children that still put their hands in their mouth, consider using whipped cream instead.
Step 4: Sprinkle drops of color over the surface of the shaving cream. Make sure to add multiple colors.
Step 5: Take a toothpick or other pointed object and drag gently through the shaving cream. Be careful not to muddle the colors too much.
Step 6: Place a paper into the shaving cream pressing gently until every part of paper touches the shaving cream mixture. Pull up the paper and scrape off the excess shaving cream with a paint scraper or flat piece of cardboard. Allow it to dry.
Final Step: The fun part is putting your amazing creation to use. Fold into cards, write letters or cut out shapes to use for other art projects. My personal favorite is to draw with marker on top of the marble for a unique background to your drawing.
Paper
Shaving cream
Food coloring or liquid watercolor
Large rectangle cake pan or tupperware
Tooth picks or other item for swirling color
Scraper or square piece of cardboard
Cover to protect work surface: plastic garbage bag/
plastic tablecloth/newspaper
Optional: gloves
Step 1: Cover your work area with a plastic garbage bag or newspaper.
Step 2: Choose the food colors you want to use.
Step 3: Fill a shallow dish with shaving cream. White foam (not gel) works best. If working with very small children that still put their hands in their mouth, consider using whipped cream instead.
Step 4: Sprinkle drops of color over the surface of the shaving cream. Make sure to add multiple colors.
Step 5: Take a toothpick or other pointed object and drag gently through the shaving cream. Be careful not to muddle the colors too much.
Step 6: Place a paper into the shaving cream pressing gently until every part of paper touches the shaving cream mixture. Pull up the paper and scrape off the excess shaving cream with a paint scraper or flat piece of cardboard. Allow it to dry.
Final Step: The fun part is putting your amazing creation to use. Fold into cards, write letters or cut out shapes to use for other art projects. My personal favorite is to draw with marker on top of the marble for a unique background to your drawing.