Papier-Mâché Project
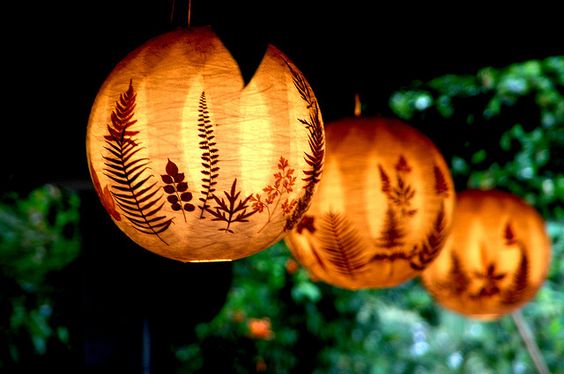
Paper Lanterns with Pressed Flowers or Plants.
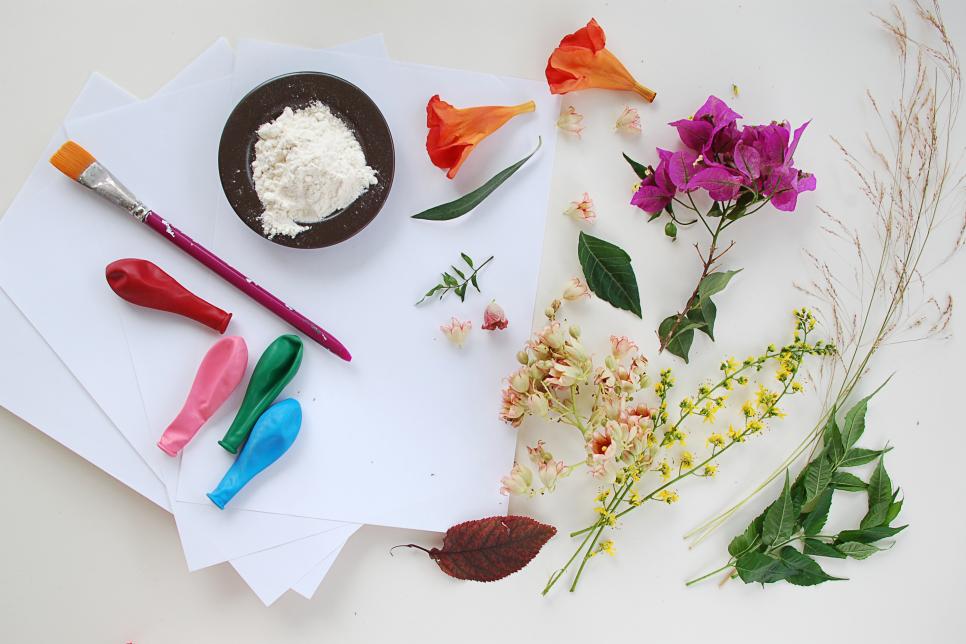
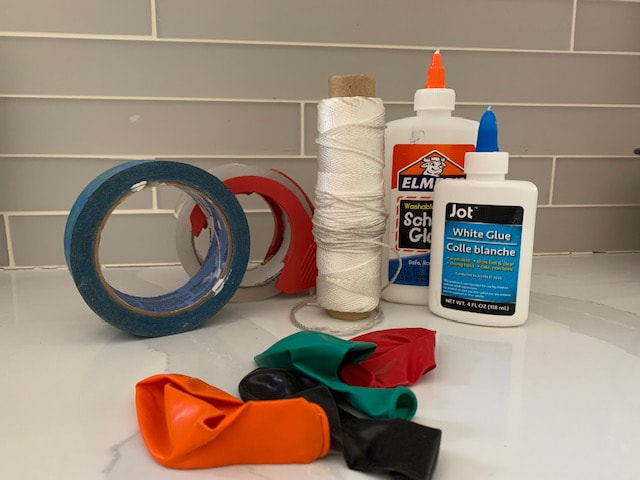
What you will need:
A Round Balloon
Glue mixture- school glue or flour mixed with water
White paper (any kind! some options: printer paper, old school assignments, construction paper)
Tissue paper (if you have it)
Dried Flowers or Plants
Helpful materials:
Old cup or bowl & tape (any) or
String
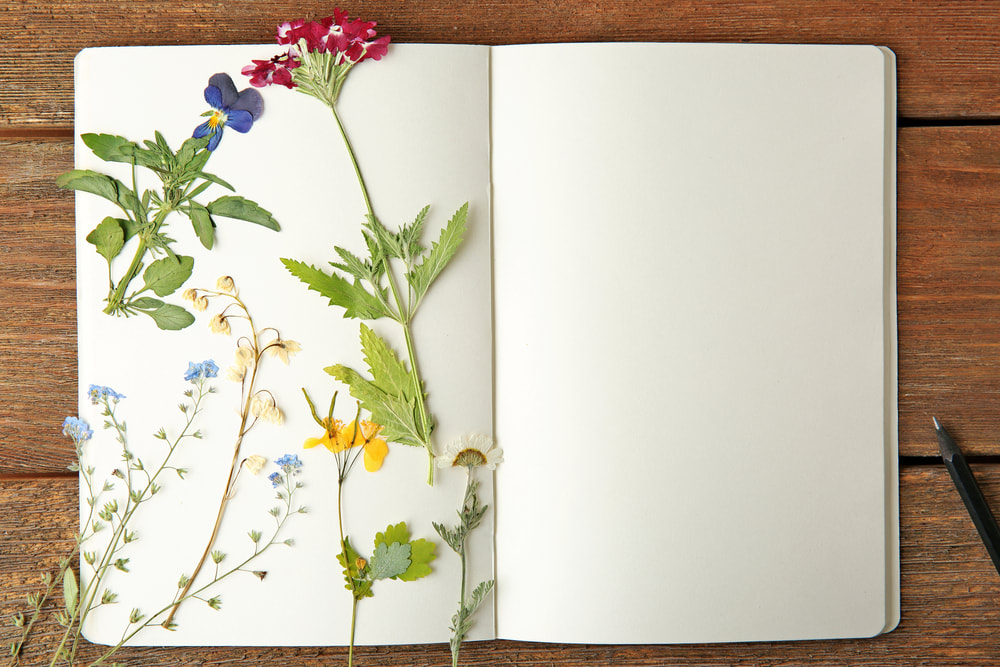
Step 1- Go outside and collect flowers, leaves, plants, any that catch your eye! Lay them out on a piece of paper and cover them with another piece of paper, now lay a few heavy items on top to flatten them! Books work great but anything heavy will do. These need to dry for several days so do this asap!
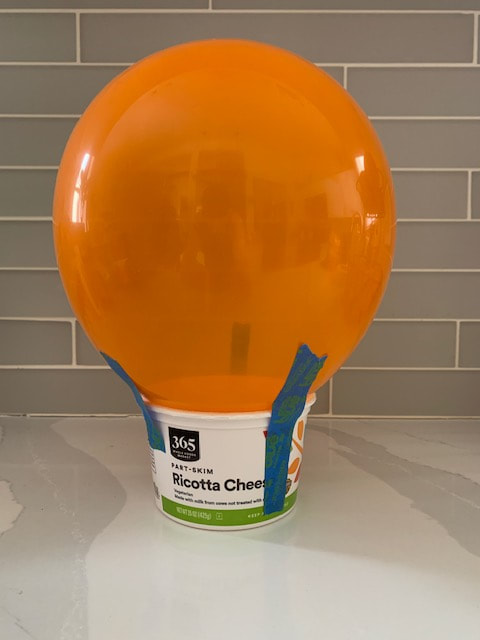
Step 2- Blow up a balloon as big as you would like the lantern to be. Attach balloon to an old container or cup using a few pieces of tape. (this will keep it from rolling around)
Step 3- Tear your white paper up into strips about 1 inch wide. They don’t need to be perfect, so don’t worry too much about this part. Make a big pile of strips before you begin with glue.
Step 4- Prepare your paper mache paste. Option 1: White school glue and water. If starting with 1 cup glue then add 1/2 cup water and mix. Add more water if it still seems too thick. Option 2: Flour, water and a little salt. Start with 1 cup flour and 1 cup water, add water slowly, mix until not so lumpy, more of a mayo type thickness then add a pinch of salt. (you may not use 1 whole cup of water, depends on the flour)
Step 5- Dip the strips into the paper mache paste and pull them through your fingers to remove any excess paste.
Using your fingers or a paint brush cover the balloon with an even layer of glue strips. 1-2 layers for flour mixture, 2-4 layers for glue mixture. Let dry completely
Step 6- Once your pressed flowers are dried you can add them to your lantern. Add some glue to the lantern where you want to place the flowers. Cover with a layer of paste or glue to hold the flowers in place. If you have tissue paper this can help the flowers lay flat if you need it. If the flowers or plants are laying flat then no need for tissue paper on top. Let dry.
Step 7- Pop and remove the balloon. The top of your lantern will very likely be uneven and ragged. If you like the look you can leave it, but if you want to smooth it out you can trim the top edge with a pair of scissors. This step can be done before or after gluing the flowers on.
Step 8- Poke 2 holes on the top of the lantern. Using string or wire, push through the holes you made and hang up! Add an LED tea light (FAKE candle) to the inside of your lantern and enjoy your magical creation!